Shopping Cart
Sub-Total: £0.00
Well, as some of you must have seen I’ve entered the dark side of woodturning thanks to a demo by BJ Norman at our club (The Garden of England Woodturners).
Now I cannot and will not claim fame for the finish that I’m about to explain to you, this is the work of BJ Norman and it’s something that I’ve played with after his demo at the club.
Decorating woodturning is something that may not have been done when people started to turn wood but in today’s world woodturning is now seen not only as a craft but also an art form. There are many woodturners who now call themselves wood artist.
After a demo by BJ I went away fully infused with this way of presenting work and on my way home I went to an art shop.
Both my wife Karen and son Joe are gifted artists but don’t use the skill that they have been born with. If it was me, the paint brush would never leave my hand. Now, with my new found love of woodturning and a newer found love of decorating my work I use their skill sets to help with colour matching.
So with that explained we will begin.
With this process firstly turn you form and take it to a fully sanded finish. Don’t think that because you’re coating it afterwards any old finish will do, because it will show any mark up ten fold.

Drizzle the hot melted glue over the area of work you wish to decorate and allow too cool.
Once ready this needs to be covered with an undercoat, here we use Chestnut Ebonising Lacquer. Let this dry and they we start to play.

Pot Of Gold Being Coated with Chestnut Ebonising Lacquer
You then let the paint dry and give this more coats until you’re happy with the effect. Once this stage is complete you require Chestnut Gilt Cream. This comes in three colours: copper, gold and silver. On Pot of Gold you guessed it I used Gold.
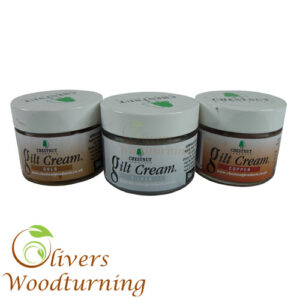
Chestnut Products Gilt Cream
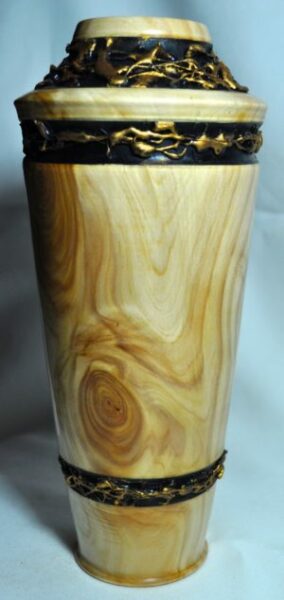
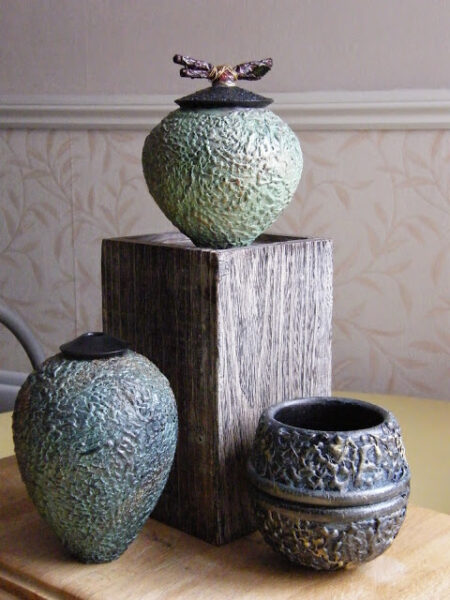
Decorated Pine Pot With Chestnut Products Ebonising Lacquer and Gilt Cream
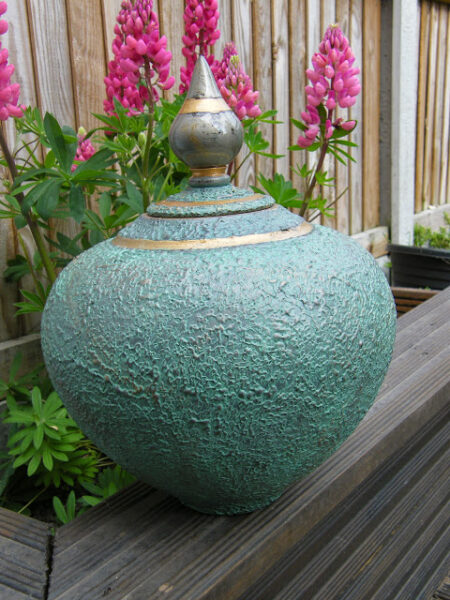
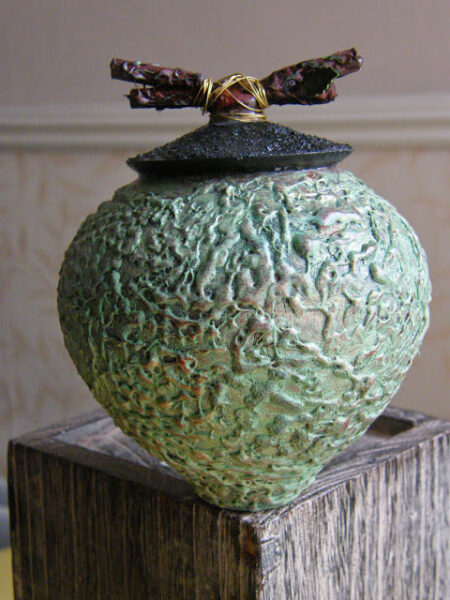
Enjoy a few of BJ Norman’s Piece’s & BJ if your reading this get yourself a website so people can see your work 🙂
Happy Turning
Ed Oliver